
%201.svg)


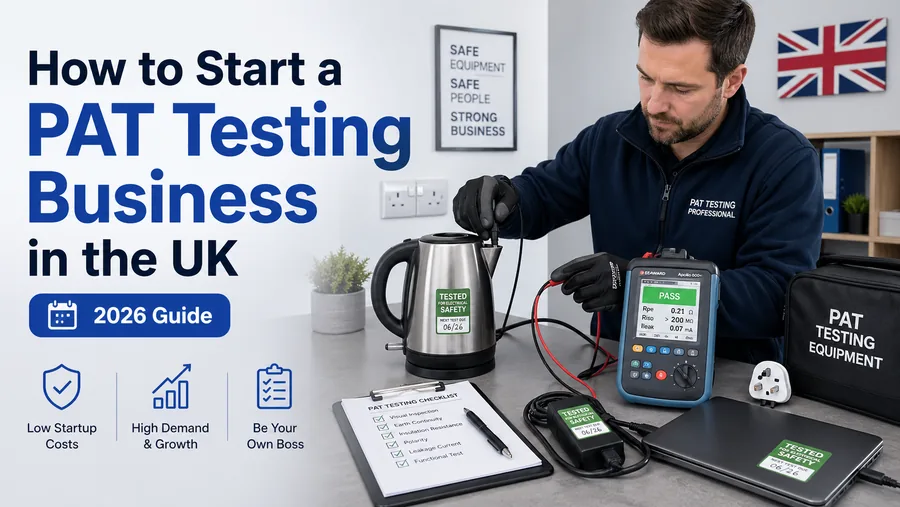
A proper PAT test isn't just plugging an appliance into a tester and pressing a button. It's a structured sequence of visual checks and electrical tests, each with specific things to look for and specific pass/fail criteria. Skip steps, and you miss faults. Do them in the wrong order, and you risk damaging the appliance or yourself.
This post is the full step-by-step PAT testing checklist used in professional testing — usable as a working procedure for in-house testers, and as a verification reference for anyone reviewing a contractor's work.
Download the PDF checklist here.
The high-level structure
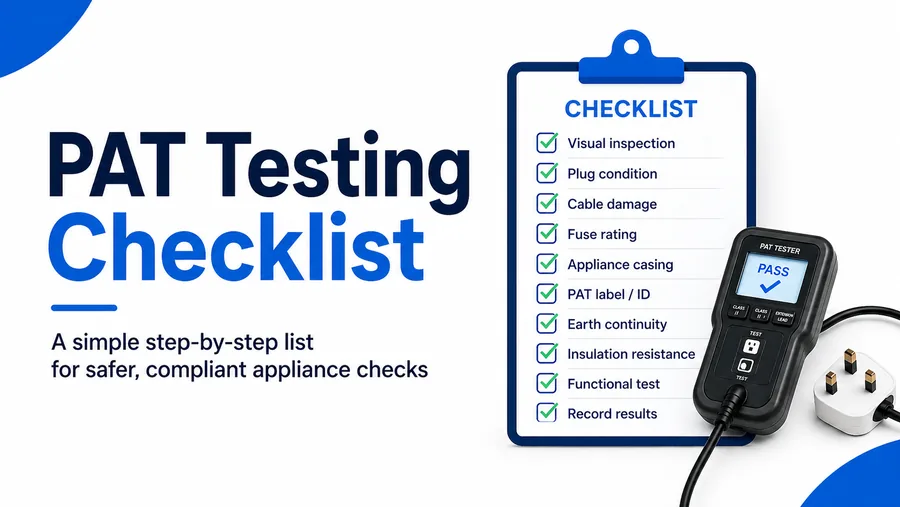
Every PAT test follows the same broad sequence:
- Pre-test preparation
- Formal visual inspection
- Electrical tests (sequence depends on class)
- Functional check
Labelling and documentation
Each section has its own sub-checklist. Skip any single step and the test isn't complete.
Section 1: Pre-test preparation
Before touching any appliance, confirm:
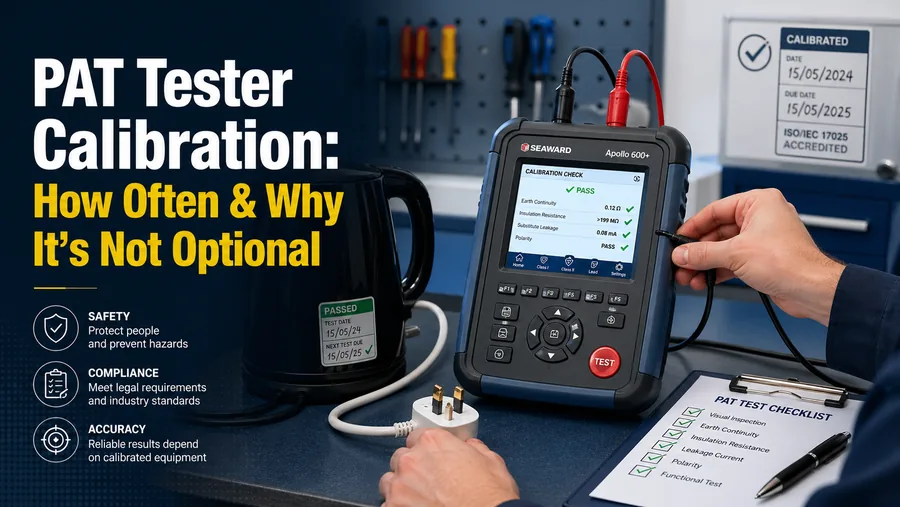
- Tester is calibrated: check calibration certificate is current (within 12 months for most testers)
- Tester batteries are good: low battery causes inaccurate readings
- Test leads are intact: damaged leads = invalid tests
- Workspace is clear: enough space to set down appliances safely
- Power supply is reliable: avoid testing on extension leads where possible
- You have appropriate PPE: insulated gloves and safety glasses for industrial environments
- You have your record sheet ready: don't try to capture results from memory
Section 2: Formal visual inspection
Around 90% of PAT failures are spotted at this stage, not by the tester. Take it seriously.
The plug
- Plug body intact, no cracks or damage
- Pins straight, no bending or signs of overheating
- Pin sleeves on live and neutral (modern requirement)
- No exposed copper at the plug entry
- Correct fuse rating for the appliance
- On rewireable plugs: cord grip secure, no wires exposed beyond the strain relief
- On rewireable plugs: terminal screws tight, wires correctly terminated
- On rewireable plugs: no excess copper outside terminals
- Plug face clean, no scorch marks
- Pins not loose in body when wiggled
The cable
- No cuts, splits or abrasions along the full length
- No signs of crushing or compression damage
- No exposed conductors anywhere
- No taped joints (a major fail — repair, don't tape)
- No signs of overheating (browning, hardening, smell)
- Cable enters plug cleanly with intact strain relief
- Cable enters appliance cleanly with intact strain relief
- Sufficient length for intended use (no undue tension)
- Correct rating for the appliance load
- No twisted or kinked sections
The appliance casing
- No cracks in the body
- No missing screws or visible internal access
- No signs of impact damage
- Class 1 appliances: metal parts properly bonded
- Class 2 marking visible where applicable
- CE/UKCA marking and rating plate present and legible
- No signs of overheating (discolouration, damage)
- Air vents clear (where applicable — overheating risk)
- Switches and controls intact
- Indicator lamps where present working
The environment and use
- Appliance suitable for the location it's used in
- Not exposed to inappropriate moisture, heat or dust
- Not used outdoors if not rated for it
- Cable routing safe (not under chair wheels, doors, etc.)
If anything fails visual inspection, don't proceed to electrical testing. Mark as failed, remove from service, and document.
Section 3: Electrical tests
The specific sequence depends on the appliance class.
Class 1 appliances (with earth)
3a. Earth continuity test
- Connect tester earth probe to a clean exposed metal point on the appliance casing
- Run the test (typically 25A on standard testers)
- Pass threshold: less than 0.1Ω + (cable resistance) — typically below 0.5Ω total
- Record the reading on the test sheet (not just pass/fail)
- For appliances with detachable IEC leads, test both with and without the lead
If earth continuity fails, do NOT proceed to insulation resistance — the result won't be valid without a working earth.
3b. Insulation resistance test
- Plug appliance into tester socket
- Switch appliance ON (so all internal components are in the circuit)
- Run the insulation resistance test (typically 500V DC)
- Pass threshold: greater than 1.0 MΩ for Class 1 appliances
- Record the reading
- For appliances with electronics that might be damaged by 500V, use the substitute leakage method instead
3c. Polarity check
- Most testers run this automatically with insulation resistance
- Confirms live and neutral are correctly wired through any switches
- Pass: live correctly wired
3d. Earth leakage / functional check
- Briefly power up the appliance
- Confirms it actually works
- Some testers measure earth leakage current at this stage
- Pass threshold: leakage less than 3.5mA for typical appliances
Class 2 appliances (no earth — double insulated)
3a. Insulation resistance test
- Plug appliance into tester socket
- Switch appliance ON
- Run insulation resistance test (typically 500V DC)
- Pass threshold: greater than 2.0 MΩ for Class 2 appliances
- Record the reading
3b. Substitute leakage test (for sensitive electronics)
- Used in place of full 500V insulation test for electronic equipment
- Lower test voltage avoids damaging internal components
- Pass threshold: leakage less than 0.25mA at 230V
3c. Polarity check
- Confirms correct wiring through switches
- Pass: live correctly wired
3d. Functional check
- Brief power-up to confirm operation
- Pass: appliance works as expected
Extension leads (special procedure)
3a. Continuity tests
- Earth continuity from plug earth pin to each socket earth contact (Class 1 leads)
- Live continuity from plug live pin to each socket live contact
- Neutral continuity from plug neutral pin to each socket neutral contact
- Pass thresholds: same as standard earth continuity (less than 0.5Ω total for earth)
3b. Polarity check on each socket
- Confirms each socket wired the right way round
- Pass: all sockets correctly polarised
3c. Insulation resistance
- Standard 500V test
- Pass threshold: greater than 1.0 MΩ
For more on extension lead specifics, see our PAT testing extension leads post.
IEC leads (kettle leads)
Treated similarly to extension leads but simpler:
- Earth continuity from earth pin to IEC earth contact
- Live continuity from live pin to IEC live contact
- Neutral continuity from neutral pin to IEC neutral contact
- Polarity check
- Insulation resistance
Fixed appliances (no plug)
Different procedure — see our fixed vs portable appliances post for the full sequence.
Section 4: Functional check
After electrical tests:
- Power up the appliance
- Confirm it operates as expected
- Check switches, controls and indicators function
- Listen for unusual sounds (humming, buzzing, intermittent contact)
- Smell for unusual odours (overheating, electrical insulation breakdown)
- Watch for visible signs of issues (sparks, smoke, flickering)
- Power down safely
Section 5: Labelling and documentation
Appliance labelling
For each tested appliance:
- Apply pass/fail label (date, tester ID, next test date)
- Position label visibly but where it won't be damaged
- Remove old labels (avoid label buildup that could become illegible)
Documentation
For each tested appliance, record:
- Asset ID
- Description
- Test date
- All test readings (not just pass/fail)
- Tester name and qualification
- Tester equipment used (with calibration date)
- Result (pass/fail)
- Next test date
- Any visual issues noted
- Action if failed
For full documentation guidance, see our record sheet template post.
Section 6: Failure handling
When an appliance fails:
- Remove from service immediately (don't leave it plugged in)
- Apply red "FAIL" label
- Document failure reason in detail
- Notify the appliance owner / responsible person
- Decision: repair, replace, or scrap
- If repaired: full retest before returning to service
- If replaced: register new appliance with new asset ID
- Update record sheet with disposal/replacement details
Common mistakes to avoid
- Skipping visual inspection: most failures are visual, not electrical
- Testing damaged equipment: visual fail = stop, don't proceed to electrical tests
- Recording only pass/fail: actual readings matter for trend analysis
- Leaving old labels in place: causes confusion about which test is current
- Testing without calibration: results are technically invalid
- Insufficient documentation: a test without proper records is operationally useless
- Battery low on tester: inaccurate readings, false passes possible
- Testing through extension leads: introduces resistance that affects readings
Frequently asked questions
What's the correct order for PAT testing?
Visual inspection first (always — fail here means stop), then earth continuity (Class 1 only), then insulation resistance, then polarity check, then functional test. Documentation throughout, labelling at the end.
How long does a single PAT test take?
For an experienced tester, a standard portable appliance test (visual + electrical + label + record) takes 1-3 minutes. A full working day yields 80-150 items typically.
What's the pass threshold for earth continuity?
Less than 0.1Ω + cable resistance — typically below 0.5Ω total for Class 1 appliances with normal cable lengths.
What's the pass threshold for insulation resistance?
For Class 1 appliances: greater than 1.0 MΩ. For Class 2 appliances: greater than 2.0 MΩ. For IT and electronic equipment using substitute leakage: less than 0.25mA leakage at 230V.
Do I need to record actual readings or just pass/fail?
Best practice is to record actual readings. They allow you to track trends over time, identify appliances drifting toward failure before they actually fail, and provide stronger evidence in any compliance review.
What if a reading is just above the pass threshold?
Strictly, it's a pass — but flag it for closer attention at the next test. Marginal readings often get worse before they get better.
The takeaway
The full checklist above is what a competent PAT tester runs through for each appliance — typically internalised after experience but worth working from explicitly when starting out. Visual inspection is the most important single section, electrical tests confirm what visual checking can't, and documentation is what turns the work into a defensible compliance record.
For anyone learning PAT testing, an accredited PAT testing course walks through this checklist hands-on with real appliances and real testers — building the practical judgement that the checklist alone can't quite teach. The list keeps you honest; the experience tells you what each step actually feels like in practice.
Print the checklist, work through it methodically until the sequence is automatic, and the testing itself becomes the routine part. The judgement around marginal cases is what separates competent testers from button-pressers — and that's where training pays for itself.